FlexCut Glow In The Dark
50cm x 10m roll of t-shirt vinyl
Unit(s)
FCGL10
FlexCut Max
FlexCut Glow In The Dark
FlexCut GITD is a white flex film that will glow in the dark after exposure to daylight or artificial light.
Waterbased PU
Oeko-tex: Class I
Thickness (without liner): 60μ
Fastness: 60°C
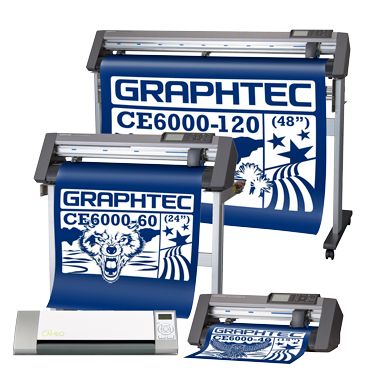
Pressing Guidlines
Time
17 seconds
Temperature
165°c
Pressure
Medium - Heavy
Tips
Hot or COld Peel
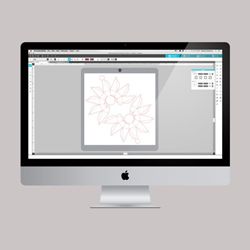
Create
Create your image in vector format using your chosen program or Silluette Studio or Graphtec Studio.
Make sure that you mirror the image before you send it to your cutter..
Set a weeding frame around every text line so you can weed line by line.
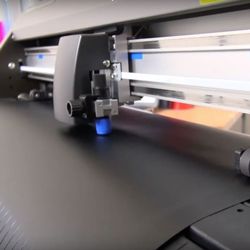
Cut
Send the design to your cutting plotter. Always do a Test Cut to ensure proper cutting blade depth, pressure and offset specific to the material and degree of blade used.
Speed of the cutting machine can also be changed to provide better cutting performance.
Slowing the cutting speed down can support better cutting of detailed graphics.
Check your cutting strip regularly. For better cutting performance the cutting strip surface must remain smooth. Too many scratches and or grooves can make fine cutting more difficult.
Use a sharp blade. Ragged cuts indicate that it is time to change your blade. If the film is not cutting evenly, reduce the downforce and slow the cutting speed.
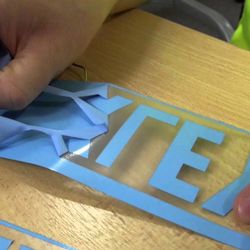
Weed
Weed away the excess flex. Using a good weeding tool will make weeding easier so you can be more productive.
Pick the centers of the letters first, then weed the outside matrix.
When weeding plotter cut graphics (reverse cut), start from the left side of the reading and work to the right.
Keep your work surface clean. Dispose of weeded material so you don’t end up with extraneous piece inadvertently stuck to the carrier of the applique and then heat pressed onto the garment.
Press
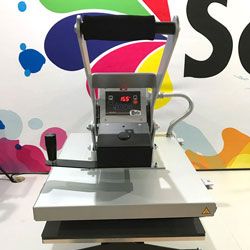
Pre-press your garment for 5 seconds. Place the design on the garment. Press for the recommended time temperature and pressure.
Keep the design away from any seams or zippers, as these can cause a lack of contact between the flex and the garment.
Keep the design away from any seams or zippers, as these can cause a lack of contact between the flex and the garment.
Flexcut Max can be peeled hot or cold depending on the garment. Cold peel is best as this allows the hot melt glue to set befor pulling the backing film off.
Make sure that you mirror the image before you send it to your cutter..
Set a weeding frame around every text line so you can weed line by line.

Layer
When layering FlexCut Max it is important to first check the surface of the fabric and make sure it will handle the extra heat and is free of any repellent.
Flex on flock is not recommended, but flock on flex is no problem. Reduce time for the first layers (3 or 4 seconds). Use recommended time settings on the last top layer.
Speed of the cutting machine can also be changed to provide better cutting performance.
Slowing the cutting speed down can support better cutting of detailed graphics.
Check your cutting strip regularly. For better cutting performance the cutting strip surface must remain smooth. Too many scratches and or grooves can make fine cutting more difficult.
Use a sharp blade. Ragged cuts indicate that it is time to change your blade. If the film is not cutting evenly, reduce the downforce and slow the cutting speed.

Wash
Even though FlecCut Max can be washed 60°c please refer to the washing instructions on the garment label.
Wait 24 hrs after applying the flex before first wash. Wash inside out.
Iron inside out. Do not dry clean.



![[FLWEED] Flex Weeder](/web/image/product.product/3717/image_512/%5BFLWEED%5D%20Flex%20Weeder?unique=bee0a0c)